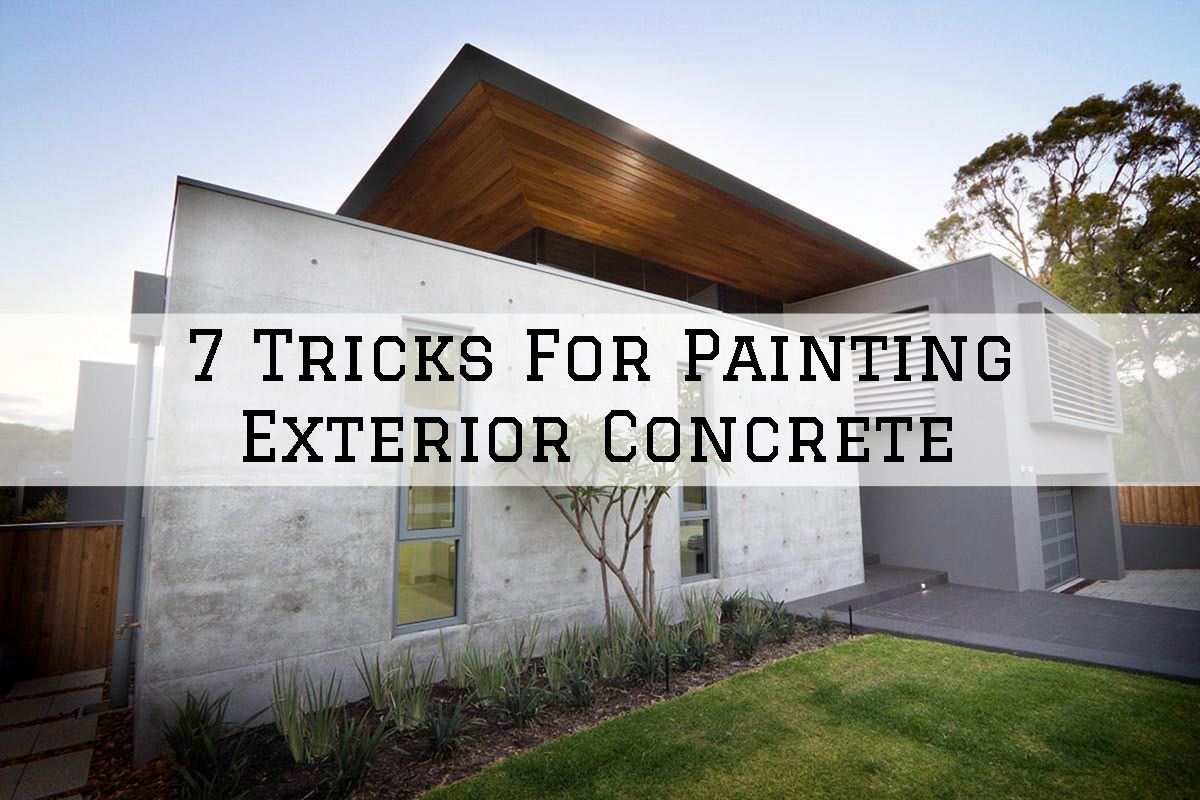
7 Tricks For Painting Exterior Concrete in Voorhees, NJ
7 Tricks For Painting Exterior Concrete in Voorhees, NJ
Painting your exterior concrete surfaces is one of the best ways to turn its dull shade of grey into an attractive one.
It is an easy, simple, and low-cost job that can be done by most DIYers.
In order to achieve the best results when painting exterior concrete, there are several things that you need to keep in mind.
Here are 7 tricks for painting exterior concrete in Voorhees, NJ.
1. Patch Damaged Areas With Concrete Filler
When painting exterior concrete, it usually starts by applying concrete fillers.
Use concrete fillers to patch damaged areas such as holes and scratches in the concrete and it will also serve as your primer for the painted surface.
After allowing it to dry, make sure to sand the patched areas until they are smooth.
2. Clean The Exterior Concrete’s Surface
The next thing you should do is to clean the surface of your exterior concrete with the solution of trisodium phosphate (TSP) and warm water.
Using a metal-bristled brush, apply the solution into the concrete and remove all the dirt and grease.
Don’t forget to read the package instructions to determine the ratio of trisodium phosphate and warm water.
Trisodium phosphate can cause harm to the eyes and skin with contact, so wear full protective gear before you start cleaning.
3. Let The Surface Dry Completely
You will probably notice some bubbling across the surface as the trisodium phosphate reacts with the concrete.
Let the bubbling continue coating your exterior concrete for 20 minutes, then use a hose to completely wash away the TSP.
Allow the surface to dry completely for 2 to 3 days before you start with your exterior concrete painting project.
4. Apply Concrete Paint Primer
Before you start painting, you need to apply a concrete paint primer to ensure that the paint will adhere.
Read and follow the instructions from the package of your primer to learn the proper application and the needed time to dry.
If you’re painting over your existing paint color, you may achieve better results by applying two layers of concrete paint primer.
Remember to let the first layer dry totally before applying the second one.
5. Use The Right Paint For The Right Concrete
Your best option when it comes to painting your exterior concrete is masonry paint.
It is formulated to contract and expand depending on the change in temperature of your exterior concrete.
Sometimes, you can also buy it as elastomeric paint or elastomeric wall coating.
You’ll need to use a high-capacity brush or roller to apply this because it’s much thicker compared to regular paints.
6. Brush Paint Onto The Concrete
After sweeping or wiping the area with a dry cloth, you’re now ready to begin painting the exterior concrete.
Use a regular medium-sized paintbrush to apply paint over the surface of your exterior concrete.
This will help you get good coverage when you’re painting edges and corners of either interior or exterior space.
Make sure to let the first coat of paint dry for 16 hours or more and use a paint roller to fill in the areas that you failed to coat using the paintbrush.
7. Apply Second Coat Of Paint To The Concrete
Just like how you did it on the first coat, apply a second and final coat of paint to the exterior concrete.
This time, press down the roller firmly to mash the paint into the holes that the first coat of paint didn’t go through.
Before you consider the project done, wait for at least 5 days to let the second coat dry completely especially that the painted surface is exterior concrete.
If you’re looking for a trusted and reliable residential painter in Moorestown, Mt Laurel, Cherry Hill, Haddonfield, Voorhees, Evesham, Medford, Tabernacle, Shamong, and the surrounding areas, we can help.
Call us on 609.953.0944 for a FREE, no-obligation estimate.
Related: Exterior Painting Cherry Hill, N.J: 6 Reasons You Should Do It More Often

