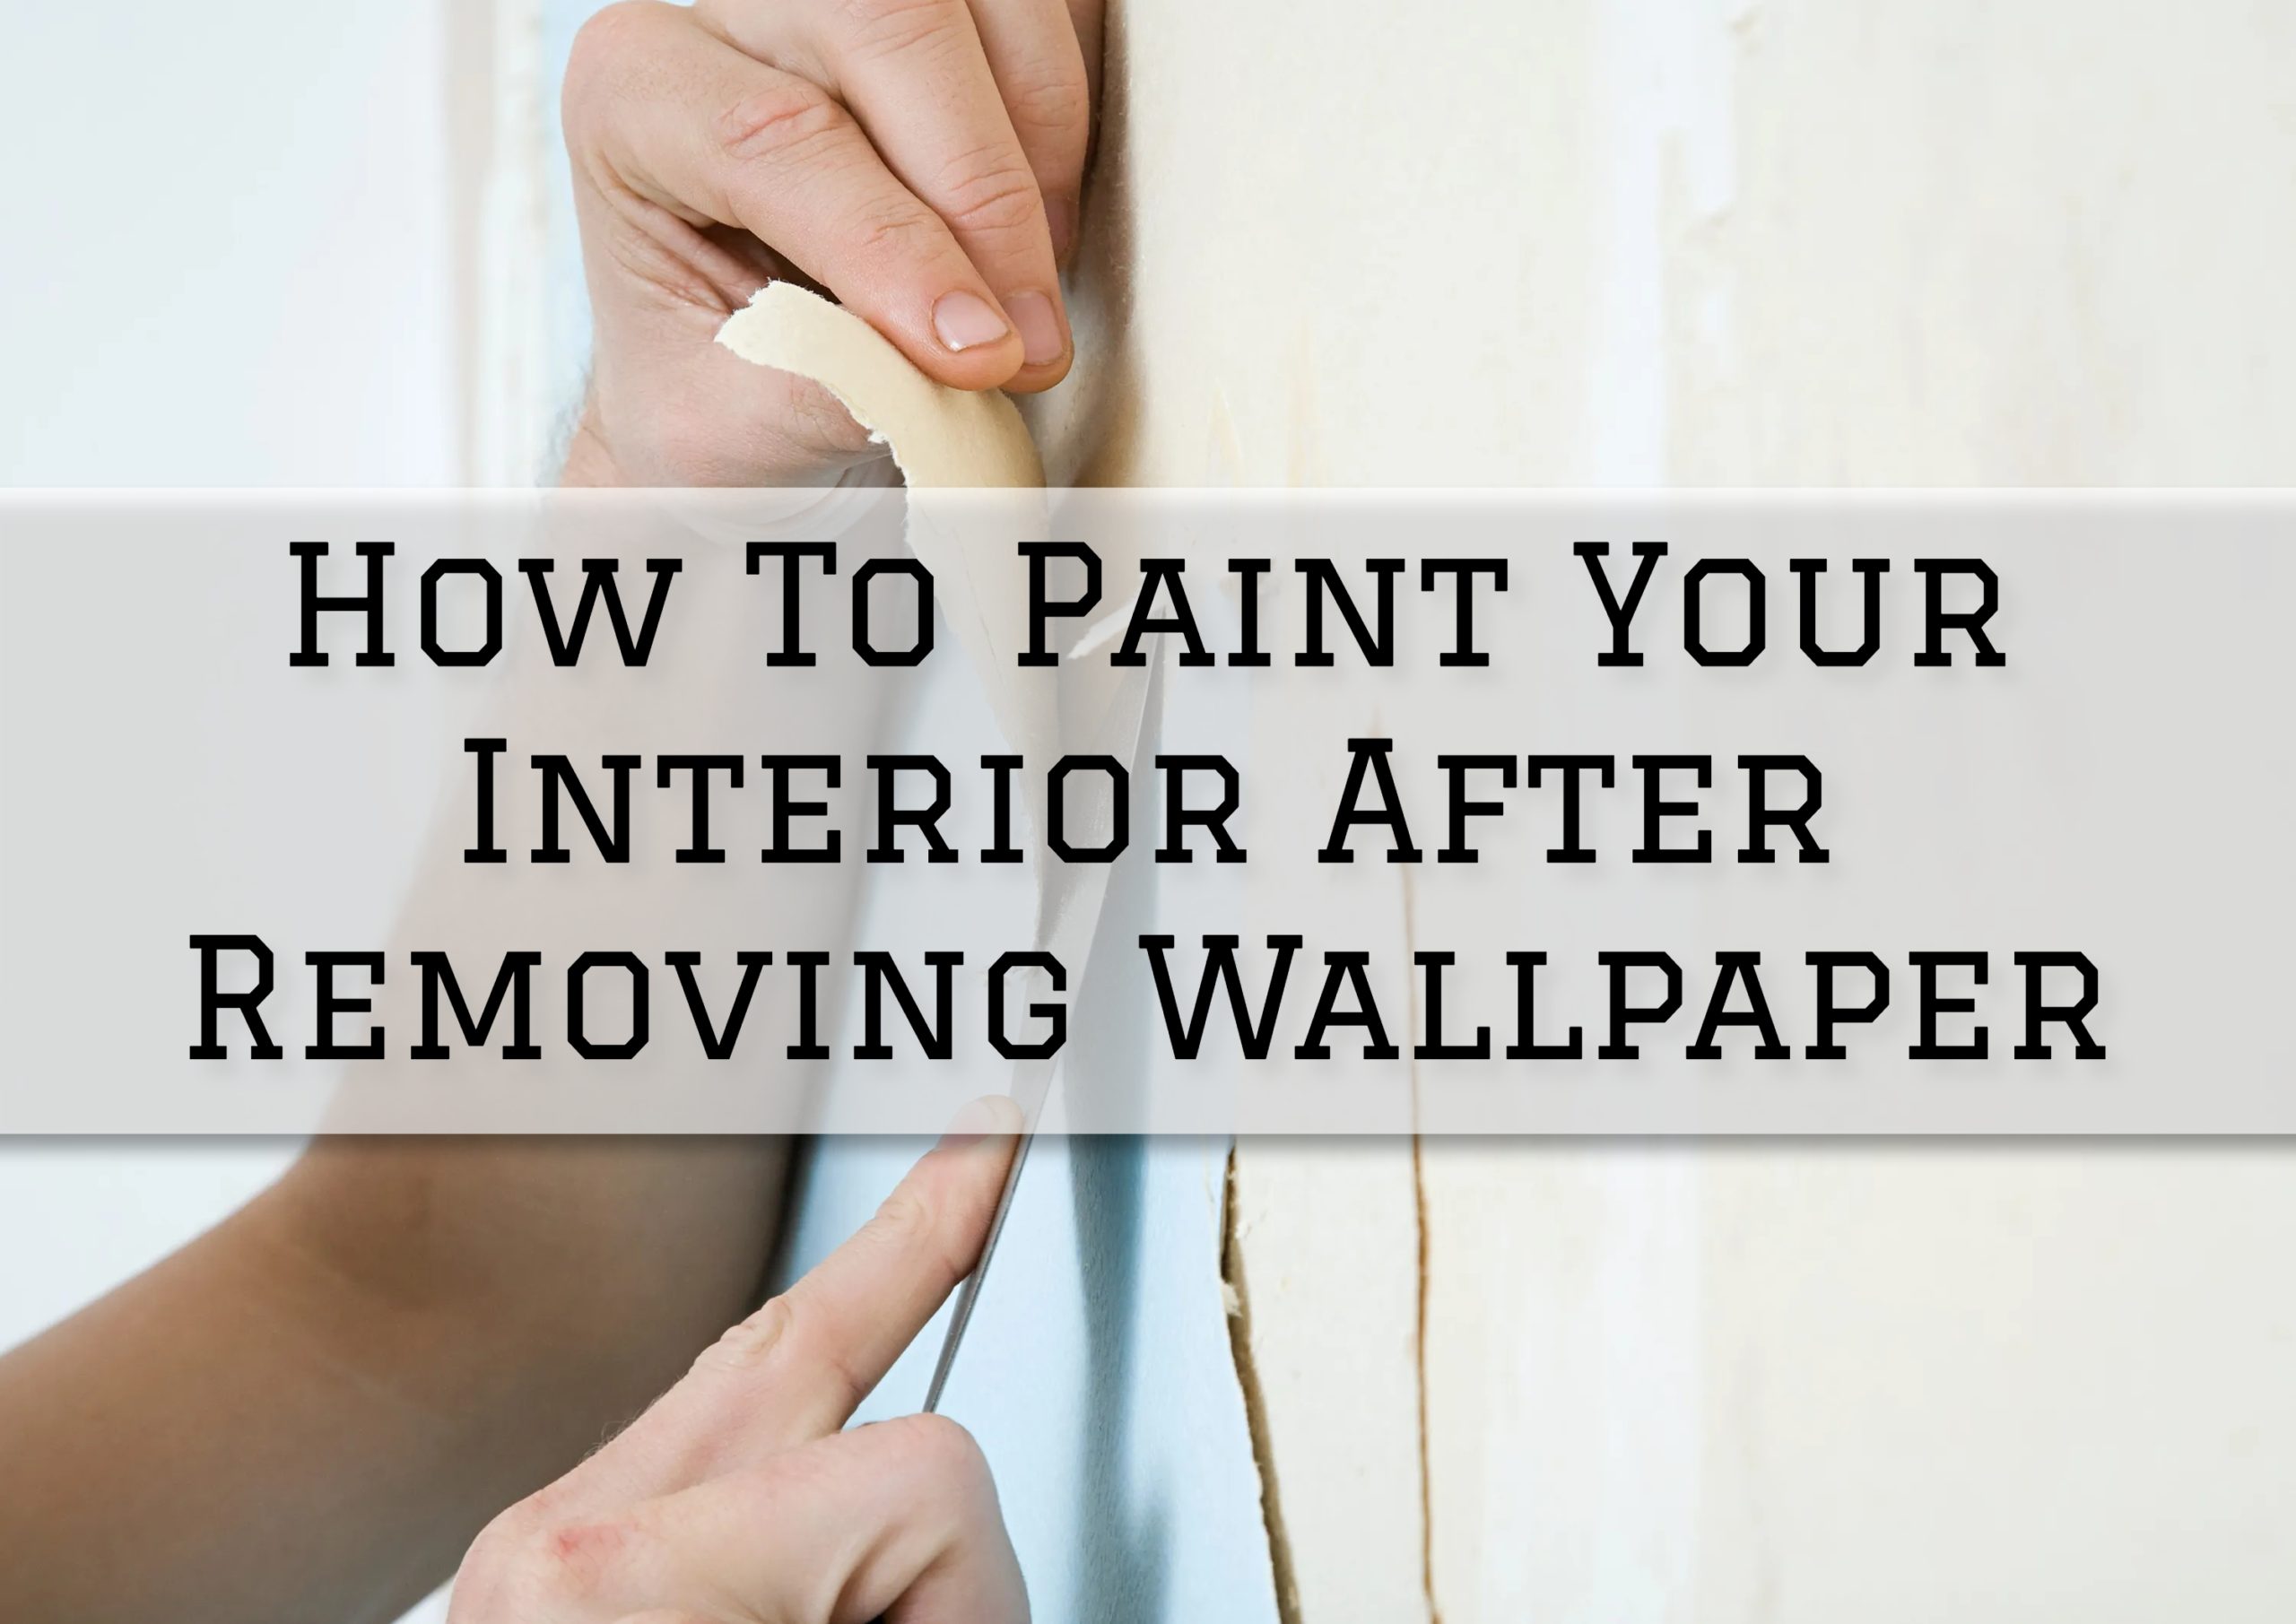
How To Paint Your Interior After Removing Wallpaper in Medford, NJ
Wallpapers are indeed a great interior fix, but it is normal to get tired or bored of them over time.
So, if you have been planning to remove your wallpaper from your interior and go back to the good old-fashioned coat of paint, here’s something that might help you in your venture.
Here’s How To Paint Your Interior After Removing Wallpaper.
1. Remove Remaining Glue
After having your wallpaper removed, it is important that you inspect the area for any remaining glue that may still be stuck there.
You will want to remove any remaining glue stuck on your wall after removing your wallpaper since they will be a nuisance to your coat of paint – which will inevitably just result in an ugly paint finish if left uncleaned.
To do this, you can scrub your walls just to remove some of that adhesive, but for a more comprehensive cleaning, you can use TSP (trisodium phosphate) in washing and scrubbing your walls, ensuring a smooth and glue-free surface.
If TSP isn’t accessible to you, you can opt for a vinegar and water solution as an alternative.
However, do remember that TSP can be harsh on your hands, so ensure to use gloves when you’re handling this.
2. Make Sure To Sand The Area
After brushing the area to remove any immediate signs of remaining glue and muck, another thing that you would want to do to make sure that the area will indeed be clean would be to sand the area.
This will guarantee that any remaining glue or muck that may have persisted even after brushing the area will be sanded down and removed from the surface.
However, make sure you won’t get too carried away in sanding your surface, because you may sand it down too much and make it overall uneven, which is another painting problem you don’t want to worry about.
3. Fix Damage Present, If Any
After sanding the surface, you will now want to inspect the surface for any signs of damage and fix them accordingly, if any.
Over the time that you have put up your wallpaper in your interior, you may have not noticed that some damage has already formed and existed in your interior, which you will only discover after removing the wallpaper off your walls.
So, if you have indeed seen signs of damage on your interior after removing your wallpaper, it is important that you patch them up accordingly first before you proceed with your painting project.
You have to remember that no amount of paint nor primer, by just itself, will ever be enough to conceal or cover up any damage present on a surface.
Additionally, painting on a damaged surface will just result in an uneven, ugly finish – which is essentially the type of result that you are avoiding when doing a painting project!
4. Apply Your Coat of Primer
After ensuring that your surface is prepped for painting, it is now time that you apply your coat of primer – and it is important that you do not forget to do so.
Primer will always be an essential step in any painting project, and for good reasons:
First, the primer will ensure that your coat of paint will have better coverage, which in turn, will result in a vibrant and more colorful paint finish.
Additionally, applying a coat of primer first before adding your paint will make your project more sturdy and durable, which could save you from the hassle of repeatedly repainting and redoing your project.
5. Start Painting From The Top
So, after you have applied your coat of primer, it is now time for you to start painting – and in doing so, you should always start from the top.
This is because starting from the top is relatively easier and more convenient because then your paint drips (which can be inevitable) and will just be dripping down on areas you’ll eventually be painting over as you proceed on your way down.
If you’re looking for a trusted and reliable residential painter in Moorestown, Mt Laurel, Cherry Hill, Haddonfield, Voorhees, Evesham, Medford, Tabernacle, Shamong, and the surrounding areas, we can help.
Related: Pro-Tips To Avoid Mess in Painting Your Bathroom in Cherry Hill, NJ